All best sellers
  • Reduced price
ATTINY85 USB Development Board
  • ATTINY85 USB Development Board

ATTINY85 USB Development Board

TSWUCT_ATTINY85
lei23.80
lei15.47 Save 35%
Tax included
Quantity
7 Items

  We deliver to lockers!

Pick up your orders anytime, hassle-free!

  Fast Delivery!

Orders placed by 2:00 PM are shipped the same day. Delivered within 24h!

  2-Year Warranty

Reliable products, worry-free!

  Easy 14-Day Returns

Unused items? No questions asked!

Description

Product Description:

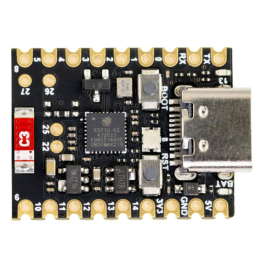
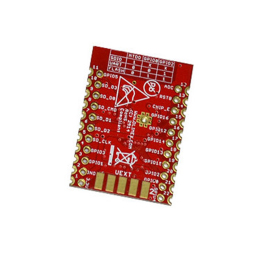
The ATTiny85 is a perfect module for small-sized projects.

Technical Specifications:

Microcontroller: ATTiny85
Operating Voltage: 5 V
Input Voltage (recommended): 7-35 V
Digital I/O Pins: 6 (2 pins are used for USB)
Analog Input Pins: 4
Connection: USB
FLASH Memory: 8k (6k available after bootloader installation)
Frequency: up to 20MHz
Dimensions: 1.8cm x 2.6cm

Connection Example:

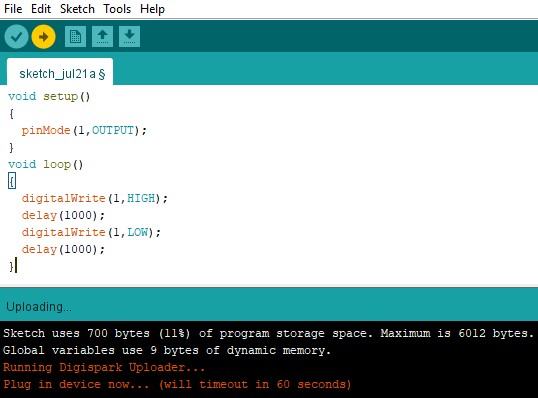
To program the ATTiny85 development board, follow these steps:
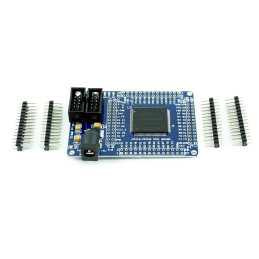
  1. Download "Digistump.Drivers.zip" from this LINK, and after extracting it, install the "DPinst64" driver.
    If you are using a 32-bit system, install the "DPinst" application.
  2. Open Arduino IDE, and in the File->Preferences menu, add the following link in the "Additional Boards Manager URLs:" field:
    https://raw.githubusercontent.com/digistump/arduino-boards-index/master/package_digistump_index.json
  3. Now, in the Tools->Board->Board Manager... menu, search for and install "Digistump AVR Boards."
  4. After installation, select Tools->Boards->Digispark (Default - 16.5MHz).
  5. The LED on the development board is connected to pin PB1. To program the "blink" code, use the following code:

    void setup()
    {
    pinMode(1, OUTPUT);
    }
    void loop()
    {
    digitalWrite(1, HIGH);
    delay(1000);
    digitalWrite(1, LOW);
    delay(1000);
    }

  6. Copy the above code into Arduino IDE and upload the code without having the board connected to the PC.
  7. After compilation, you will be notified that you have 60 seconds to connect the board to a USB port.

    PlugDeviceNow.jpg

  8. Connect the board after this message appears.
  9. After programming, the LED on the board will blink with a 1-second interval.

Package Contents:

1 x ATTiny85 board
1 x male pin header

Product Details
TSWUCT_ATTINY85
6427854026828
7 Items
Comments (0)
Grade
No customer reviews for the moment.
16 other products in the same category: