


 We deliver to lockers!
Pick up your orders anytime, hassle-free!
 Fast Delivery!
Orders placed by 2:00 PM are shipped the same day. Delivered within 24h!
 2-Year Warranty
Reliable products, worry-free!
 Easy 14-Day Returns
Unused items? No questions asked!
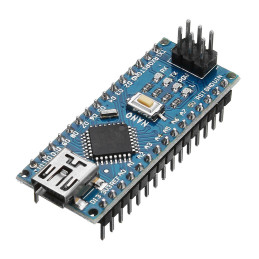
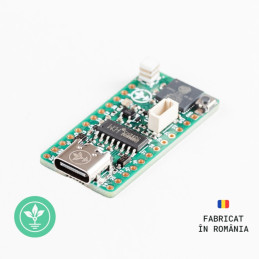
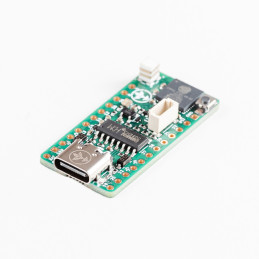
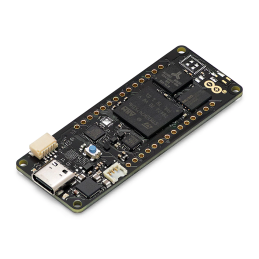
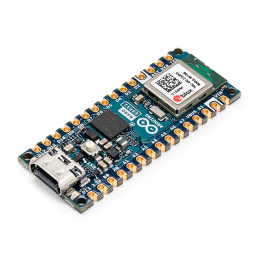
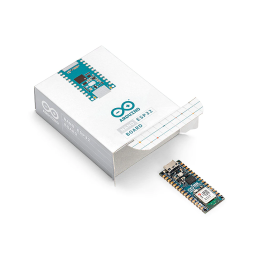
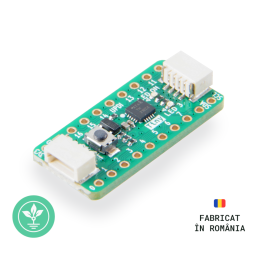
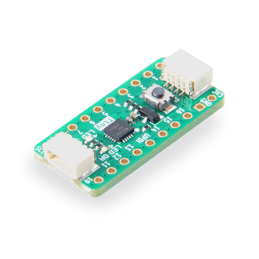
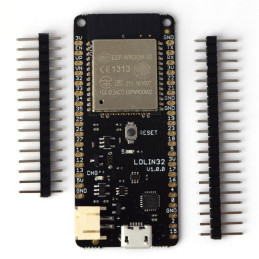
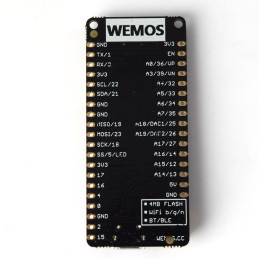
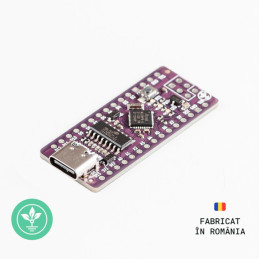
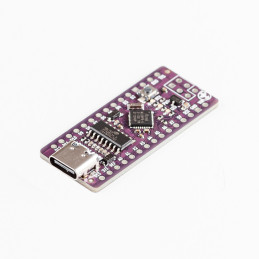
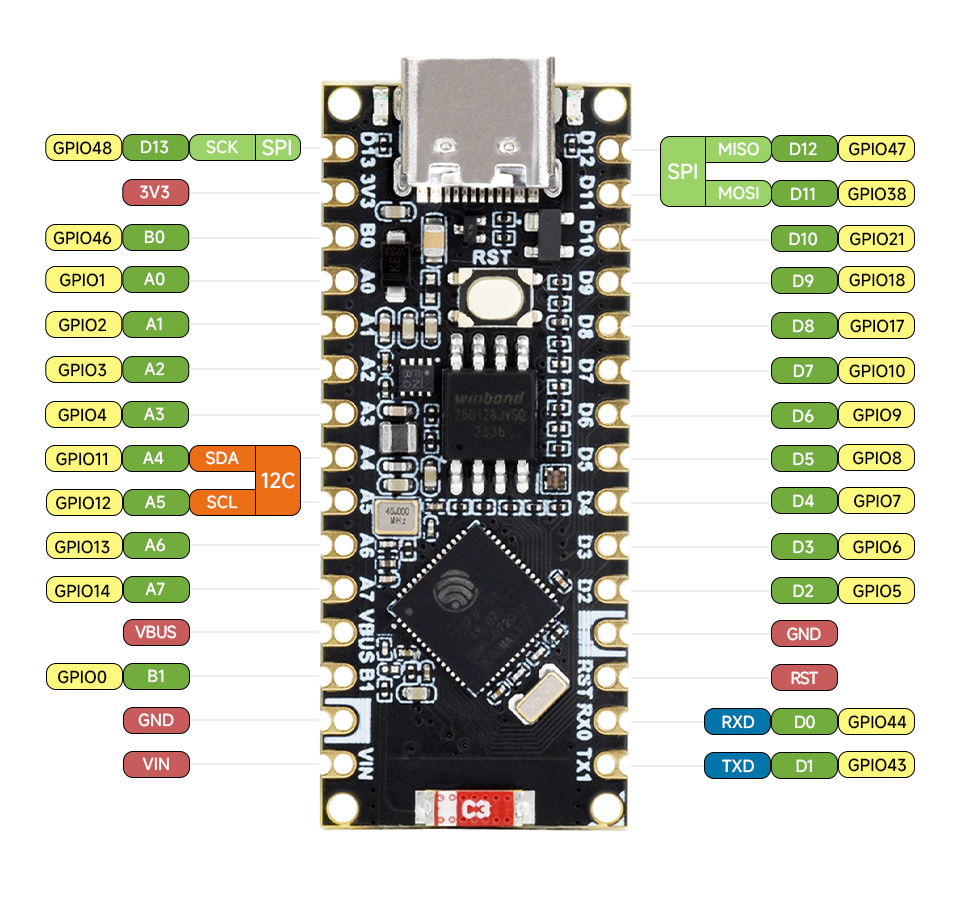
ESP32-S3-Nano adopts the ESP32-S3R8 chip and is compatible with Arduino Nano ESP32. It is compact and powerful, suitable for applications such as IoT and easy to integrate into your projects.
Microcontroller: ESP32-S3R8 (Dual-core 32-bit Xtensa LX7)
Power Supply (USB): 5V DC
Power Supply (VIN): 6V-21V DC
Digital I/O Pins: 14
Analog Pins: 8
PWM Pins: 5
UART Ports: 2
I2C Ports: 1
SPI Ports: 1
Memory: 384kB ROM, 512kB RAM, 16MB Flash, 8MB PSRAM
Wireless: 2.4GHz WiFi + Bluetooth LE
For this example, you will need the following:
1x ESP32-S3 Nano development board || Reference HDNPQI_ESP32-S3_NANO
Link: Arduino IDE
Before connecting the board, start by downloading Arduino IDE 1.8.x from the link above based on your preferences and operating system.
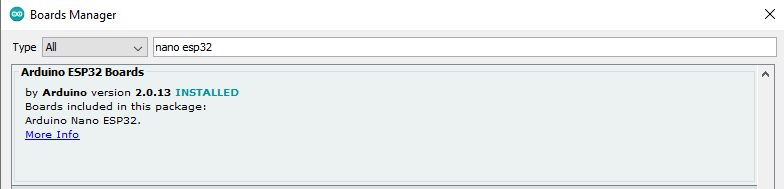
First, you will need to download a set of boards in Arduino IDE. After opening Arduino, go to:
Tools -> Boards -> Boards Manager...
In the window that appears, search for "nano esp32", and the package "Arduino ESP32 Boards by Arduino" will appear in the list. Click install and wait for the installation to complete.
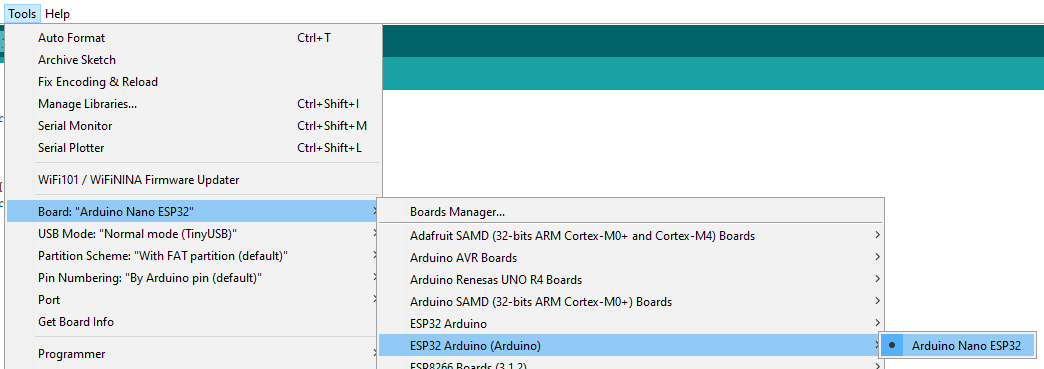
Next, go to "Tools" -> "Board" -> "ESP32 Arduino (Arduino)".
Select "Arduino Nano ESP32C3".
In Arduino IDE, select the newly appeared port in the Device Manager under "Tools -> Port" once the board is connected.
If you have multiple ports and are unsure which one is the ESP32-S3 Nano, press "RESET" or disconnect and reconnect the board to the USB, then check the "Ports" menu in the Device Manager to see which one appears.
Copy the code below and upload it to the development board:
|
// the setup function runs once when you press reset or power the board // the loop function runs over and over again forever digitalWrite(LED_GREEN, LOW); digitalWrite(LED_BLUE, LOW); |
After uploading, the LED connected to the D13 digital pin, followed by each of the 3 LEDs in the RGB LED, will turn on and off consecutively with a delay of one second.
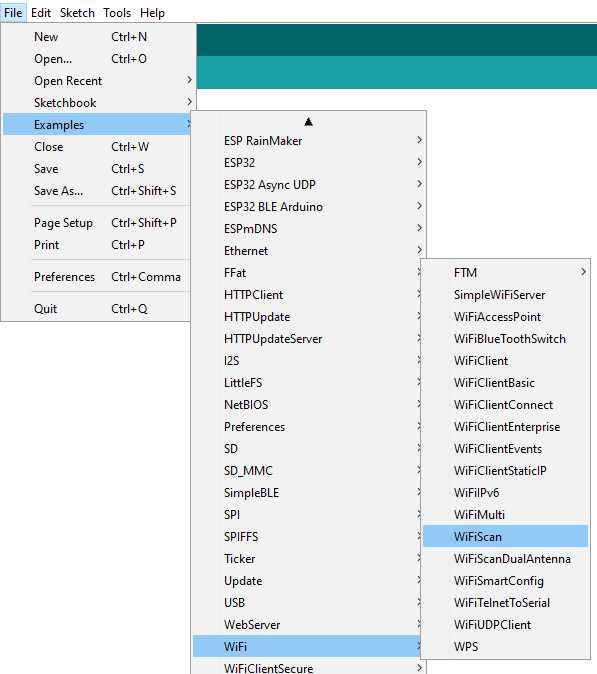
Select Files -> Examples -> Wifi ->
After uploading, open the Serial Monitor and set the baud rate to the value in the code (115200).
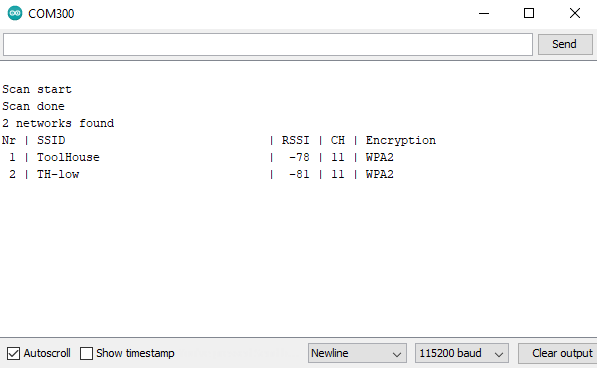
The available WiFi networks will be scanned and displayed as shown in the image above.
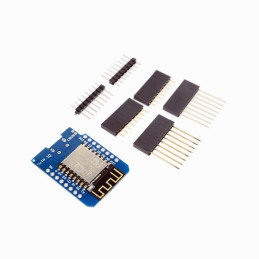
1x ESP32-S3 Nano development board
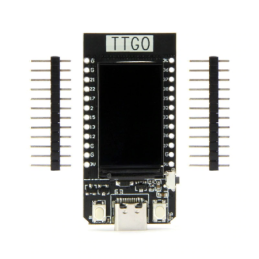
1x 40-pin @2.54mm male header
Your review appreciation cannot be sent
Report comment
Report sent
Your report cannot be sent
Write your review
Review sent
Your review cannot be sent
Reference: XAAJFJ_AAA
Brand: GroundStudio
check_circle
check_circle