We deliver to lockers!
Pick up your orders anytime, hassle-free!
 Fast Delivery!
Orders placed by 2:00 PM are shipped the same day. Delivered within 24h!
 2-Year Warranty
Reliable products, worry-free!
 Easy 14-Day Returns
Unused items? No questions asked!
GroundStudio products are made using high-quality components, designed, and assembled in Romania.
 |
 |
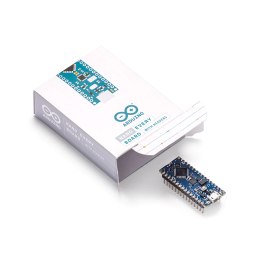
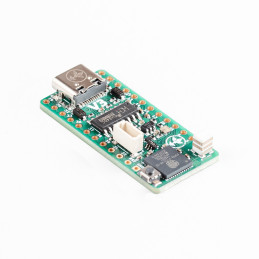
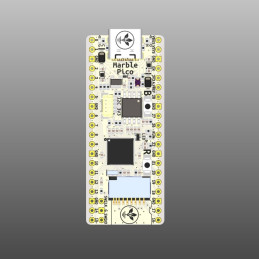
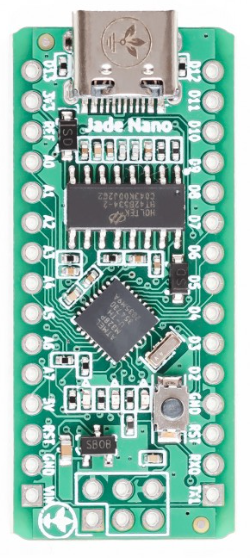
The GroundStudio Jade N1 development board is an improved version of the classic Nano board, featuring a USB Type-C adapter (upgraded from microUSB). It uses the HT42B534-2 chip for USB 2.0 to Serial (UART) conversion.
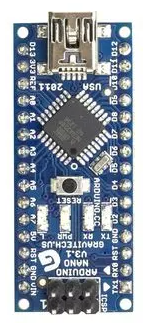
The Jade Nano development board is small, complete, and fully compatible with the baseboard, based on the ATmega328P. It offers the same connectivity and specifications as the UNO board in a smaller form factor.
The board is equipped with 20 digital I/O pins, which can be programmed using the Arduino IDE. The Jade N1 provides various communication options for connecting to a computer, another board, or other microcontrollers. The ATmega328 offers TTL UART (5V) serial communication available on digital pins 0 (Rx) and 1 (Tx). The HT42B534-2 chip on the board facilitates this serial communication via USB.
The Arduino software includes a serial monitor that allows simple text-based communication with the ATmega328P. The RTX LED will blink when data is transmitted through the HT42B534-2 chip and the USB connection to the computer (but not for serial communication on pins 0 and 1). The SoftwareSerial library enables serial communication on any of the Nano’s digital pins. The ATmega328P also supports I2C and SPI communication.
Arduino Nano |
GroundStudioJade N1 |
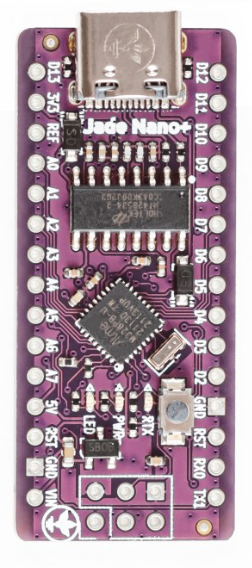
GroundStudioJade N1+ |
|
 |
 |
 |
|
Price |
$$$$$ | $$$ | $$ |
Microcontroller |
ATmega328P | ATmega328P | ATmega328PB |
USB Connector |
Mini | USB-C | USB-C |
USB-SERIAL Converter |
FTDI (Fixed VID/PID) | HOLTEK (Changeable VID/PID) | HOLTEK (Changeable VID/PID) |
Peripheral Touch Controller (PTC) |
No | No | Yes |
UART |
1 | 1 | 2 |
SPI |
1 | 1 | 2 |
TWI (I2C) |
1 | 1 | 2 |
Analog Pins |
8 | 8 | 8 |
Digital Pins |
20 | 20 | 22 |
Timers |
2 | 2 | 4 |
Unique Serial per Chip |
No | No | Yes |
Microcontroller: ATmega328P with Nano Bootloader
USB-Serial Converter: HT42B534-2
5V Voltage Regulator: SSP7603P50MR
Power Supply Voltage [Vin]: 8V - 12V
Digital I/O Pins: 20 (6 PWM output pins: ~3, ~5, ~6, ~9, ~10, ~11)
Analog Input Pins: 8
USB 2.0 Type-C Adapter
Max DC Current per I/O Pin: 40 mA
FLASH Memory: 32 kB
EEPROM Memory: 1 kB
SRAM Memory: 2 kB
Frequency: 16MHz
Approx. PCB Dimensions: 43.2mm x 18.5mm
* No additional driver installation required on up-to-date operating systems (unlike other modules such as CH340, FTDI, etc.).
* For Windows 7, 8, or 8.1, drivers can be found in the Downloads section.
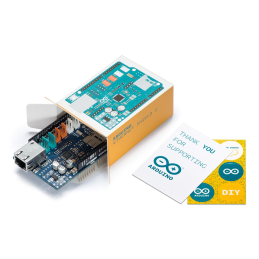
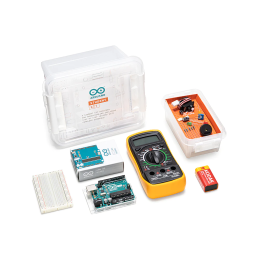
For this example, you will need the following:
1x GroundStudio Jade N1 Development Board || Reference LTAYNO_AAA
Before connecting the board, start by downloading Arduino IDE 1.8.x from the link above, based on your preferences and operating system.
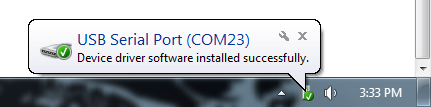
After the initial connection via a USB-C cable, the computer will attempt to find a compatible driver. In this case, it will connect directly to Windows using the HT42B534-2 chip, as its drivers will be installed automatically.
To select the board, go to the "Tools" menu, then click on the "Board" button and make sure "Arduino Nano" is selected.
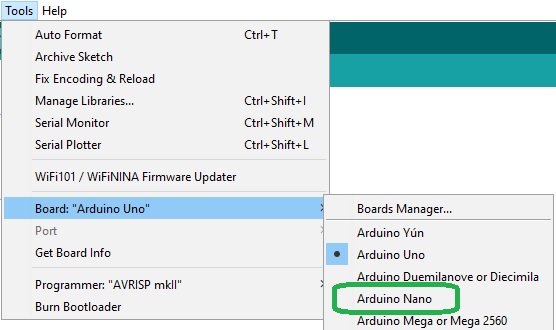
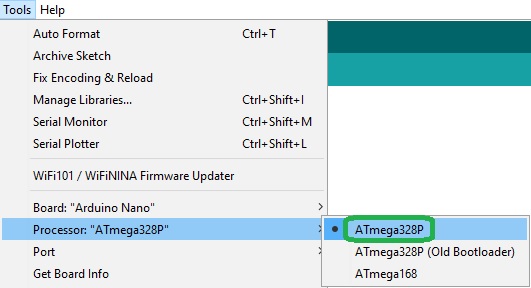
After selecting the board, a new section "Processor" will appear in the Tools menu. Here, you need to select the "ATmega328P" option.
Next, you need to tell the Arduino IDE which serial port on your computer the Jade N1 is connected to. To do this, go to "Tools" again and select the COM port of the Jade Nano.
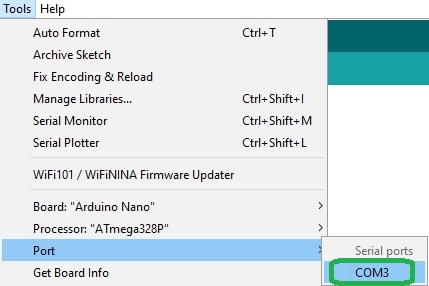
If you have multiple ports and are unsure which one belongs to the Jade N1, disconnect it for a moment and check the "Device Manager" under the "Ports" section to see which one disappears.
After selecting the COM port and the board, you can upload the "Blink" code from the menu: File -> Examples -> 01.Basics -> Blink.
1x GroundStudio Jade N1 Development Board
2x 1*15 Male Pin Headers
1x 2*3 Male Pin Header
ATTENTION: The included pin headers are not soldered, and we do not offer soldering services for them.

Your review appreciation cannot be sent
Report comment
Report sent
Your report cannot be sent
Write your review
Review sent
Your review cannot be sent
Reference: RLJDMV_AAA
Brand: GroundStudio
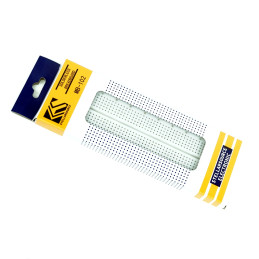
Reference: GLBDOD_FDP-FF-40x10
Reference: DQYNCA_FDP-FF-40x20
Reference: OTGKMP_FDP-FM-40x10
Reference: ZCBOZH_FDP-FM-40x20
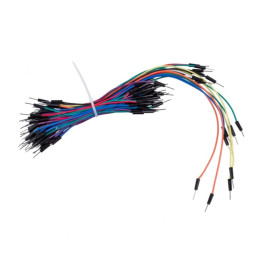
Reference: KIT-BB830
check_circle
check_circle