

- Reduced price


 We deliver to lockers!
Pick up your orders anytime, hassle-free!
 Fast Delivery!
Orders placed by 2:00 PM are shipped the same day. Delivered within 24h!
 2-Year Warranty
Reliable products, worry-free!
 Easy 14-Day Returns
Unused items? No questions asked!
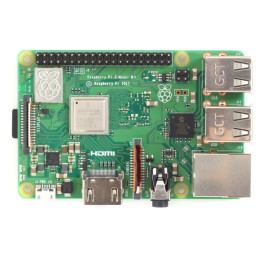
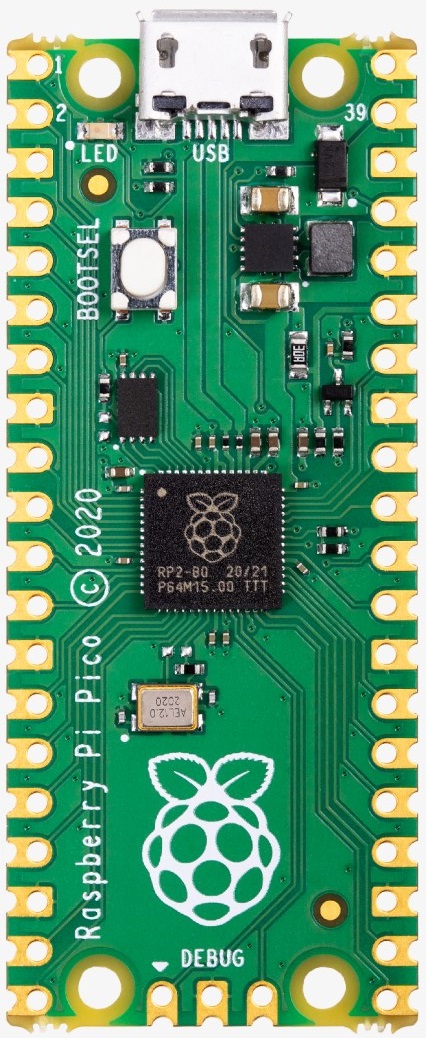
The Raspberry Pi Pico is a small, fast, and versatile board built using an RP2040 microcontroller chip. The RP2040 features a dual-core Arm Cortex-M0+ processor with 264 KB of on-chip RAM and up to 16 MB of off-chip Flash.
Programmable in C and MicroPython, the Pico can adapt to a wide range of applications and skill levels, and getting started is as easy as drag-and-dropping a file.
Raspberry Pi Pico |
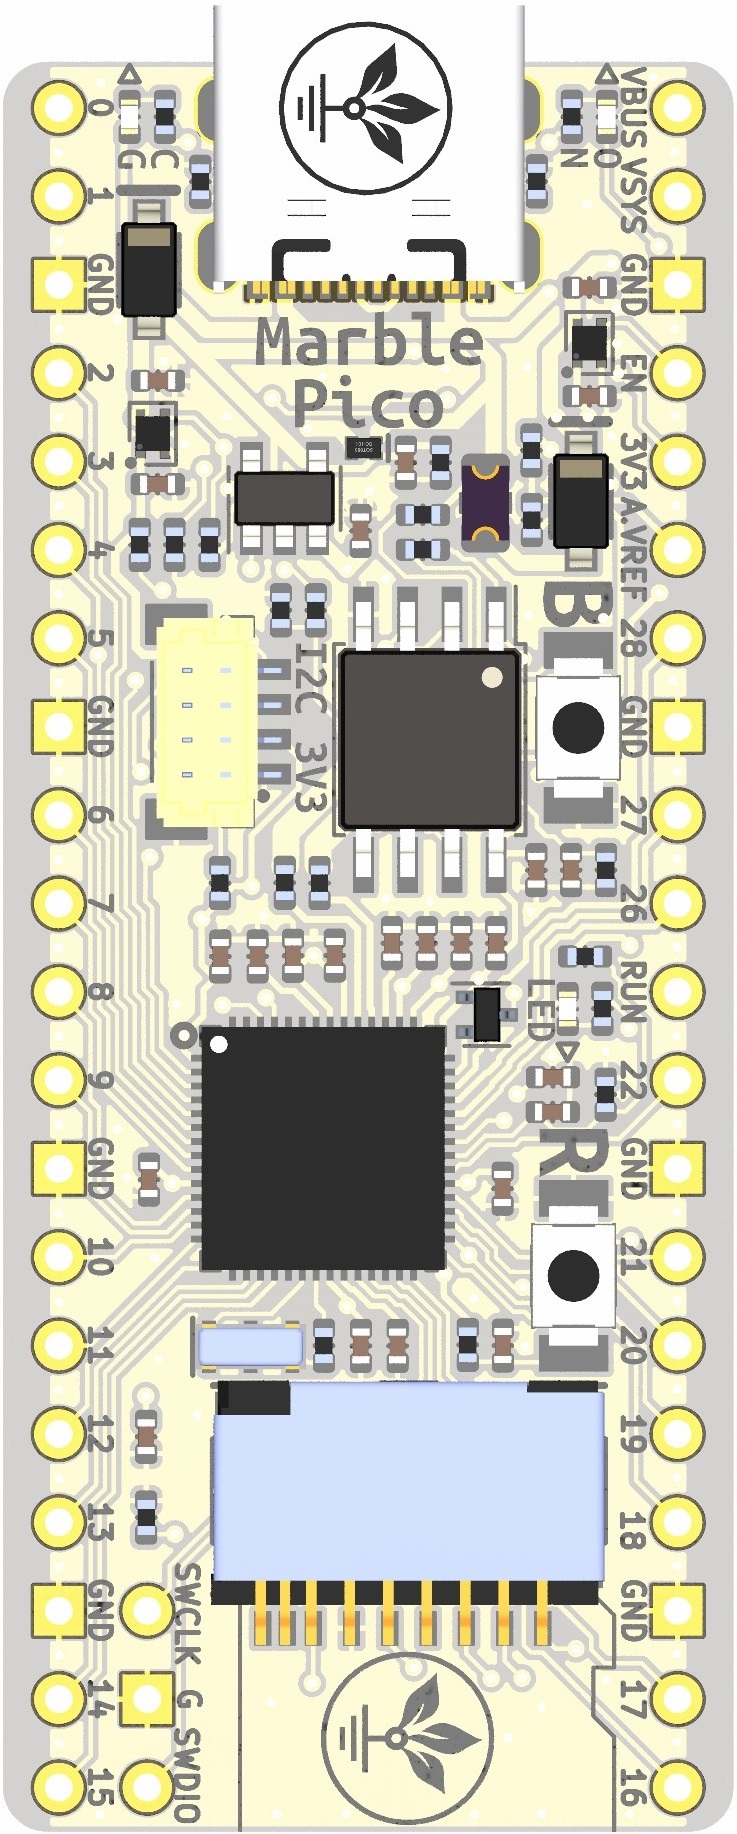
GroundStudio Marble Pico |
|
 |
 |
|
Price |
$$ | $$ |
Microcontroller |
RP2040 | RP2040 |
USB Connector |
Micro USB | USB-C |
I2C 3V3 Connector |
No |
Yes |
microSD Adapter |
No | Yes |
FLASH |
2MB | 8MB |
Dedicated Stabilizer for ADC |
No | Yes |
Circuit for LiPo Battery Power Supply |
No | Yes |
External VSYS Power Supply |
1.8V ~ 5.5V | 4.3 ~ 6.5 |
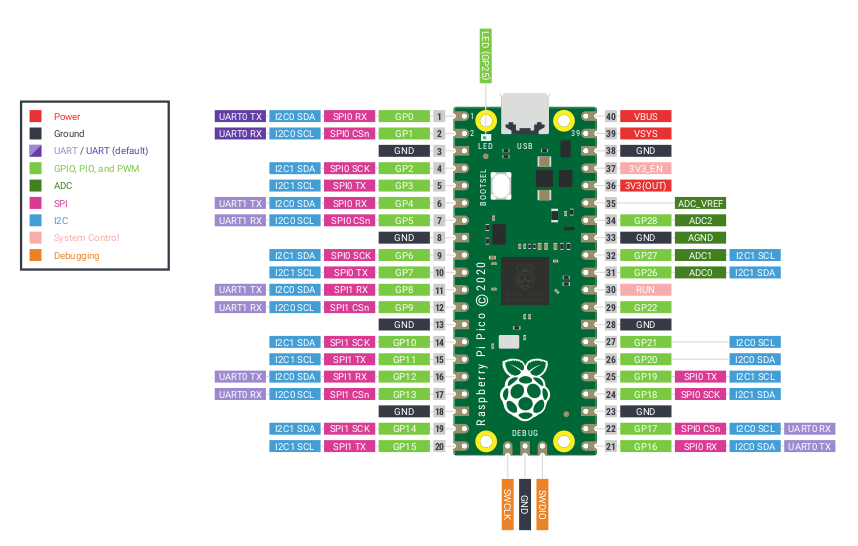
Dimensions: 21 mm × 51 mm
RP2040 microcontroller chip designed by Raspberry Pi in the UK
Dual-core Arm Cortex-M0+ processor, flexible clock running up to 133 MHz
264 KB on-chip SRAM
2 MB onboard QSPI Flash
26 multifunction GPIO pins, including 3 analog inputs
2 × UART, 2 × SPI controllers, 2 × I2C controllers, 16 × PWM channels
1 × USB 1.1 controller and PHY, with host and device support
Supported input power: 1.8–5.5V DC
Operating temperature: -20°C to +85°C
Accurate on-chip clock
Temperature sensor
For this example, you will need the following: 1x Raspberry Pi Pico development board || Reference CSQGQJ_PICO Step 1 - Download uf2 File for MicroPythonDownload the latest stable version of the uf2 file with MicroPython for the Raspberry Pi Pico. Link to download the .uf2 file for MicroPython: link Step 2 - Install MicroPythonEnsure the board is in BOOT (programming) mode by following these steps:
While in Boot mode, copy the downloaded .uf2 file from Step 1 to the root of the newly appeared "RPI-RP2" drive. After a few moments, the board will reset and be ready for programming. Step 3 - Install Thonny IDEThonny IDE download link: https://thonny.org/ Install and then open the Thonny IDE editor. In the bottom right corner, select "MicroPython (Raspberry Pi Pico)."
Step 4 - Programming the Development BoardCopy the text below into the code area: from machine import Pin, Timer
led = Pin(25, Pin.OUT)
timer = Timer()
def blink(timer):
led.toggle()
timer.init(freq=2.5, mode=Timer.PERIODIC, callback=blink)When saving, select "Raspberry Pi Pico" and save the code.
After saving the file, run the code using the Run command, and the onboard LED connected to pin GP25 will blink. |
1x Raspberry Pi Pico
Your review appreciation cannot be sent
Report comment
Report sent
Your report cannot be sent
Write your review
Review sent
Your review cannot be sent
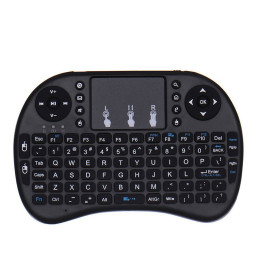
Reference: NRXMDY_wifi-kb+tp
Brand: Raspberry Pi
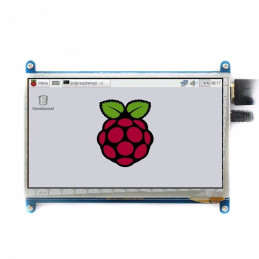
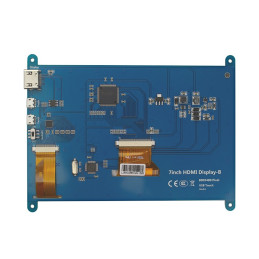
Reference: IHAOSZ_RPI_LCD_7_800x480_TC
Brand: Raspberry Pi
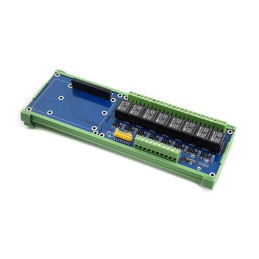
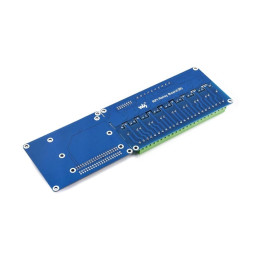
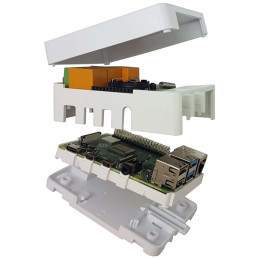
Reference: ETZPMN_RPI_RELAY8
Brand: Raspberry Pi
Reference: YSEJIQ_DS1307_I2C_RPI
Brand: Raspberry Pi
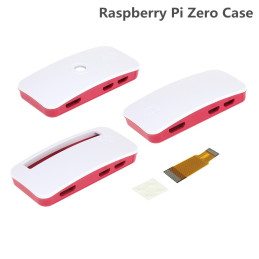
Reference: DYOBPJ_FFC_RPI_15-22_30cm
Brand: Raspberry Pi
check_circle
check_circle