
No products
Prices are tax included


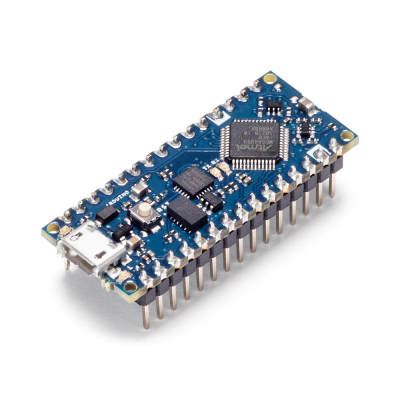
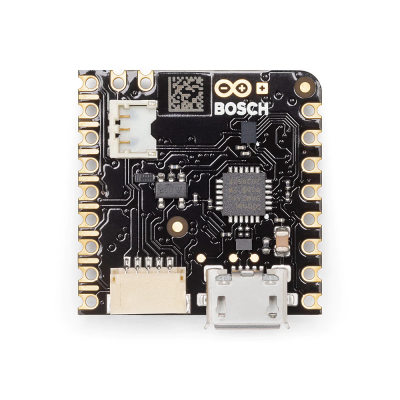
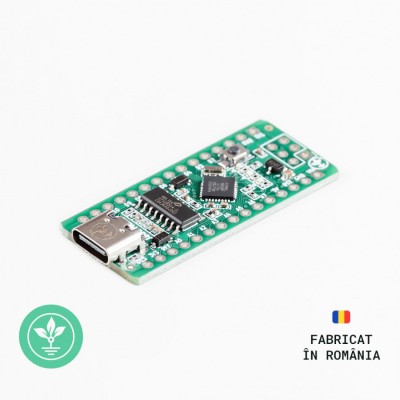
Original GroundStudio Product
The products created by GroundStudio are made using superior quality components, and they are designed and assembled in Romania.
 |  |
Link to github.com documentation
Link to download the GroundStudio Jade Pro Micro pinout in PDF format.
PRODUCT DESCRIPTION:
As we aim to bring real improvements that please the customer, the Jade Pro Micro development board is an enhanced version of the classic Pro Micro board. The board has the same dimensions as the original Pro Micro, but we have added a few extra features by reducing some of the components on the board and upgrading the microUSB adapter with a USB Type-C adapter. To make the product easier to use, we have also added an I2C_3V3 adapter for quick I2C connection to compatible devices.
This small board has all the Arduino features you're familiar with: 9 10-bit ADC channels, 5 PWM pins, 18 digital I/O pins, as well as hardware serial connections Rx and Tx. It operates at a frequency of 16Mhz and a supply voltage of 5V.
Power Pins
There are various power networks:
- RAW: must be between 4.3V and 5.5V
- VCC: this voltage defaults to 5V but can be modified using the VCC selection jumper on the back of the PCB.
- RST: can be used to restart the Jade Pro Micro.
- GND: this pin is the common ground voltage (reference 0V) for the system.
I/O Pins
The Pro Micro board has a total of 18 I/O pins. Each pin can be used as a digital input or output. These pins are referenced in the Arduino IDE using an integer value between 0 and 21 (pins A0-A3 can be referenced digitally using either their analog pin number or digital).
Nine pins have analog-to-digital converters (ADC) and can be used as analog inputs with a resolution of 10 bits. These are useful for reading potentiometers or other analog devices using the "analogWrite([pin],[value])" function.
There are also hardware UART (serial), I2C, and SPI pins. These can be used to interface with digital devices like LCDs, IMUs, and other serial sensors.
3.3V Voltage Selection Jumper (EXPERIMENTAL)
The Jade Pro Micro development board is designed to operate by default with a 5V voltage. This can be changed using the "VCC" jumper on the back of the PCB.
The operating voltage of the Jade Pro Micro development board determines the maximum allowable voltage on any of the I/O pins, so with this board, be careful not to interfere with different logic levels.
It is very important to know which voltage is selected, so you will need to differentiate when you load the code into the Arduino IDE.
How to Power the Pro Micro
Since the main feature of the Jade Pro Micro is its USB functionality, this is also the most common power supply, but alternatively, it can be powered via the "RAW" pin or through "VCC".
Power entering the "RAW" pin must be between 4.3V and 5.5V.
If you power the board through the "VCC" pin, note that this is not stabilized. Use this type of power supply only if you have a source that provides an exact, stabilized 5V voltage.
Technical Specifications:
Microcontroller: ATmega32U4 with Pro Micro Bootloader
Voltage regulator: ME6211C33U4AG-N (3V3/500mA)
Digital I/O pins: 18 (of which 5 PWM output pins (3, 5, 6, 9, 10))
Analog input pins: 9 ((A0, A1, A2, A3, 4(A6), 6(A7), 8(A8), 9(A9), 10(A10)))
USB 2.0 Type-C adapter
I2C_3V3 adapter (SH type with 1mm pitch)
Approx. PCB dimensions: 34mm x 18.3mm
Arduino IDE Connection Example:
Step 1 - Download the Driver
Before connecting the board, start by downloading Arduino IDE 1.8.x from the above address, depending on your preferences and the operating system you are using.
Step 2 - Connect Pro Micro
After the initial connection via the USB-C cable, the computer will attempt to find a compatible driver. In this case, it will connect directly to Windows as the drivers for it will install automatically.
Step 3 - Make the necessary settings in Arduino IDE.
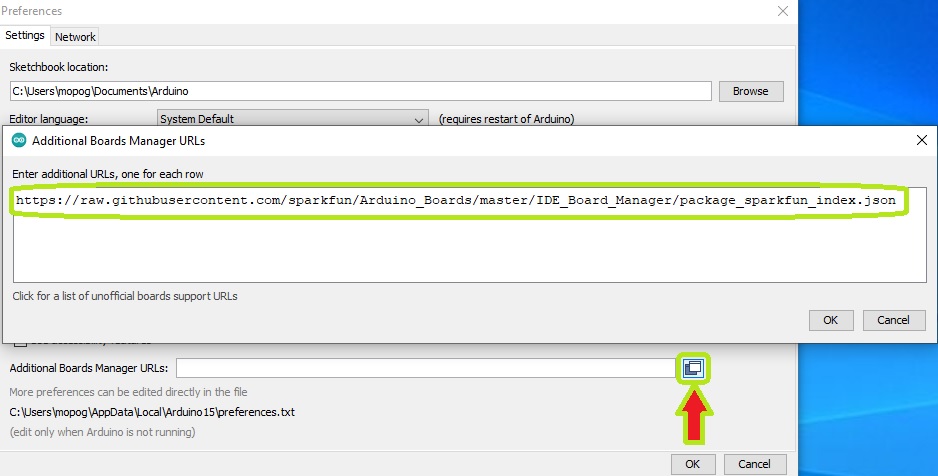
In "File->Preferences->Additional Boards Manager URLs:" add the following link: "https://raw.githubusercontent.com/sparkfun/Arduino_Boards/master/IDE_Board_Manager/package_sparkfun_index.json".
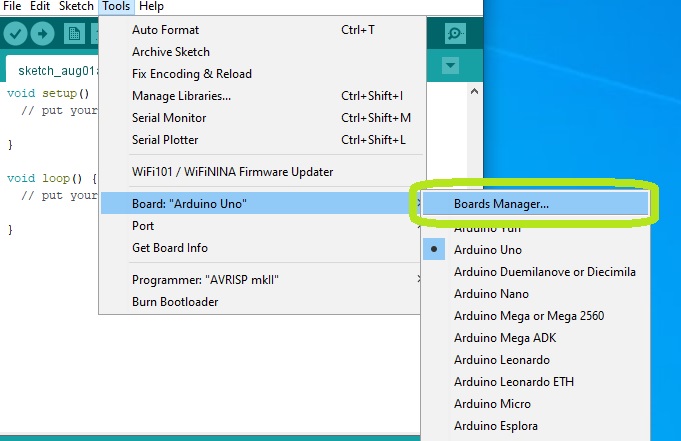
Go to "Tools->Board->Boards Manager".
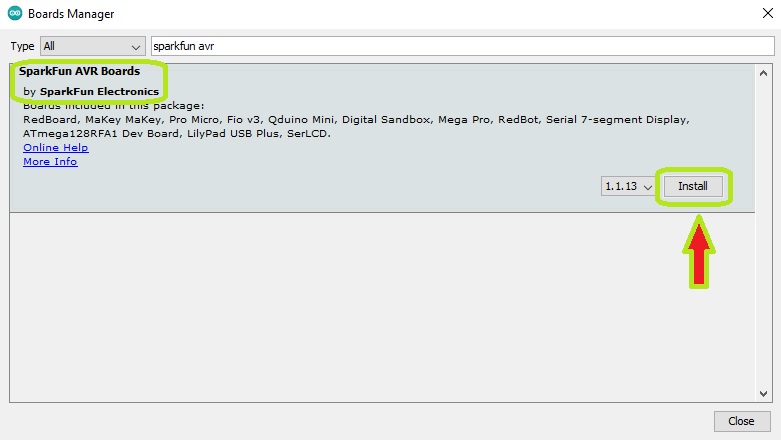
Search for the "SparkFun AVR Boards by SparkFun Electronics" board set and install the latest available version.
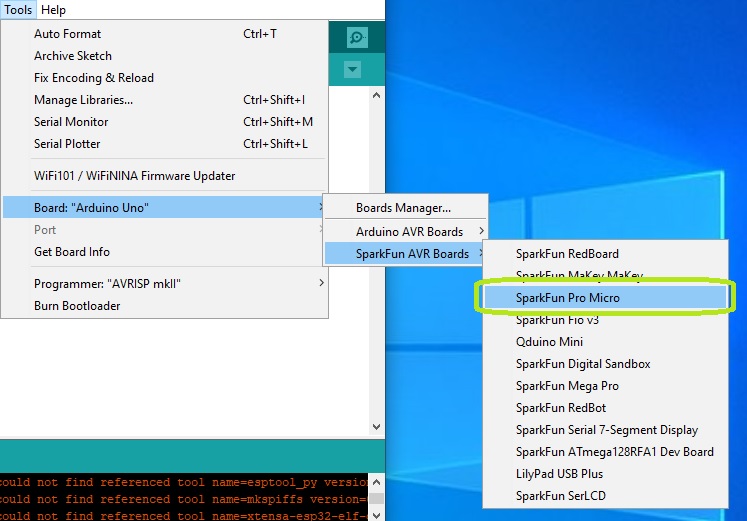
After installation, you will have the "SparkFun Pro Micro" board available in the "Tools" menu.
After selecting the board, a new "Processor:" section will appear in the Tools menu. Here, you should select the "5V, 16MHz" option.
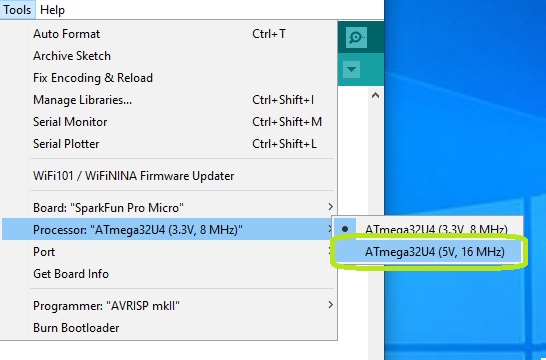
Next, you need to tell the Arduino IDE which of the computer's serial ports the Jade Pro Micro is connected to. To do this, go to "Tools" again, then select the COM port of the Jade Pro Micro.

If you have multiple ports and are unsure which one is the Jade Pro Micro, disconnect it for a moment and check the "Device Manager" in the "Ports" menu to see which one disappears.
After selecting the COM and the Board, you can upload (Upload) the "Blink" code from the File->Examples->01.Basics-> Blink menu.
Package Contents:
1x Jade Pro Micro development board
2x 1*12 male pin headers
No customer reviews for the moment.
30 other products in the same category:
-
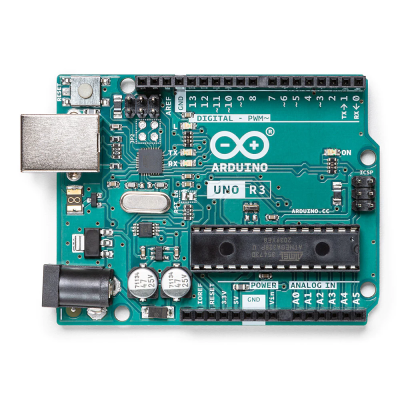
Arduino® Uno Rev3
178,38 lei 199,80 lei
-
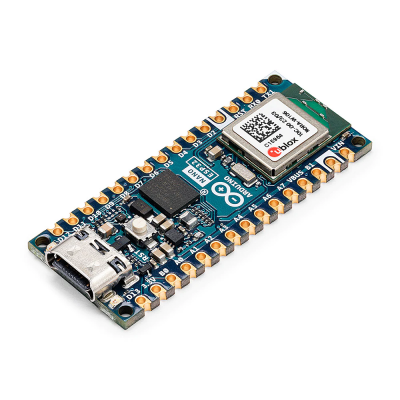
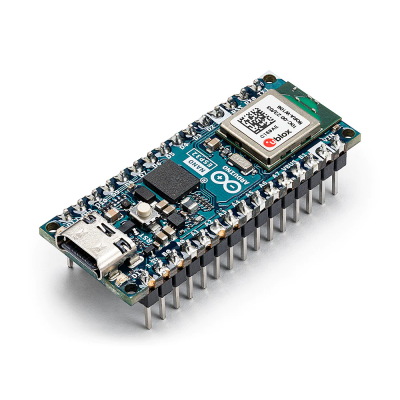
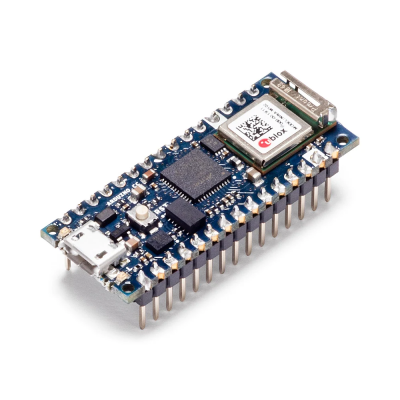
Arduino® Nano ESP32
127,98 lei 154,76 lei
-
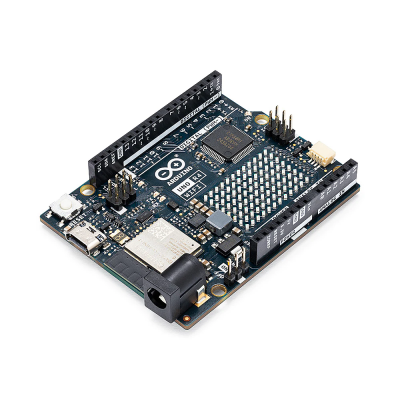
Arduino® UNO R4 WiFi
160,65 lei 182,07 lei
-
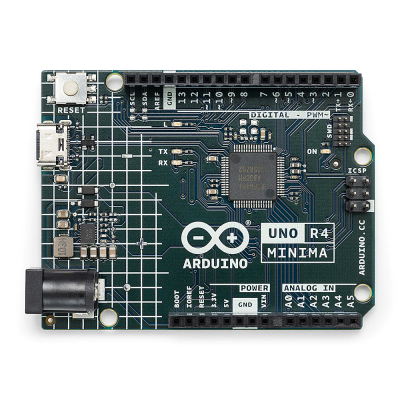
Arduino® UNO R4 Minima
115,72 lei 142,50 lei
-
Arduino® Nano ESP32...
122,95 lei 149,73 lei
-
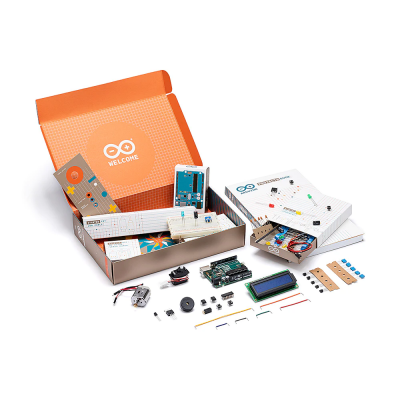
Arduino Starter Kit -...
556,92 lei 615,83 lei
-
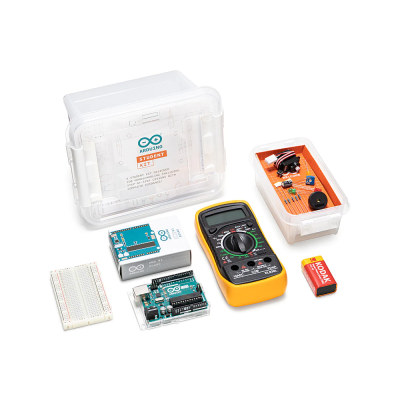
Arduino Student Kit
390,92 lei 428,40 lei
-
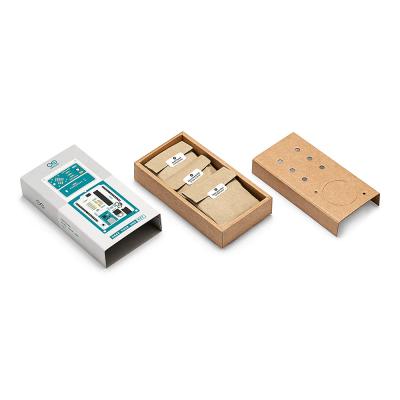
Arduino® Make Your UNO...
323,37 lei 355,50 lei
-
Arduino® Nano Every...
87,71 lei 103,78 lei
-

Arduino® Nano RP2040...
151,97 lei 173,39 lei
-
Arduino® Nano 33 IoT...
140,35 lei 161,77 lei
-
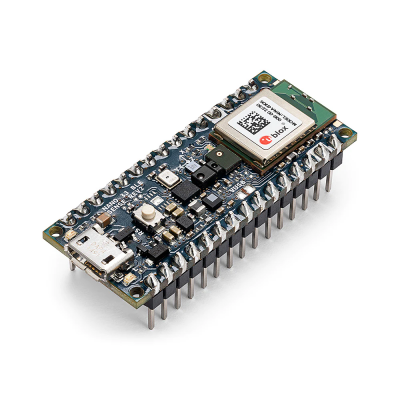
Arduino® Nano 33 BLE...
357,12 lei 399,96 lei
-
Arduino® MKR WiFi 1010
263,56 lei 284,98 lei
-
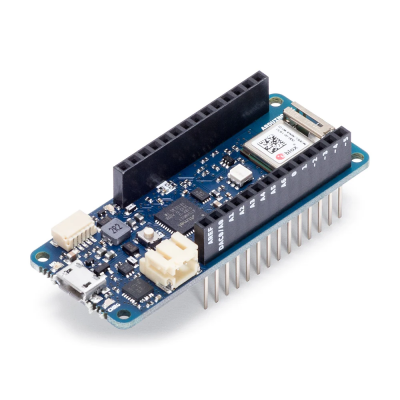
Arduino® Ethernet...
162,52 lei
-
Arduino® Nicla Sense ME
489,98 lei 538,18 lei
-
Arduino® Portenta H7 Lite
369,01 lei 422,56 lei
-
ESP32 development board
104,42 lei
-
Node MCU V3 - LoLin...
31,92 lei 42,63 lei
-
Development board...
45,52 lei 68,28 lei
-
NodeMCU Mini - ESP8266...
33,57 lei 50,34 lei
-
ATTINY85 USB...
44,66 lei 66,99 lei
-
DUE R3 Development...
122,09 lei
-
Development Board...
22,17 lei
-
FPGA Development Board
119,15 lei
-
PIC16F1823...
30,52 lei
-
Development board...
25,70 lei
-

Raspberry PI Pico
45,00 lei
-
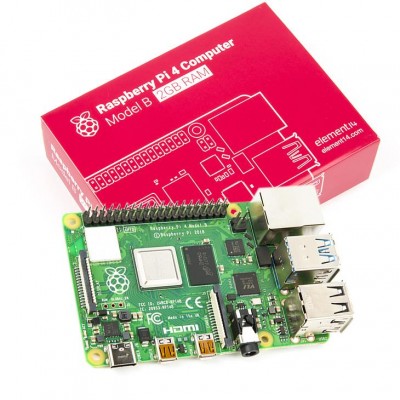
Raspberry Pi 4 Model B...
374,85 lei
-
GroundStudio JADE N1
24,42 lei
-

ESP32-WROOM-32D
47,74 lei 71,60 lei

