


lei0.27
In stock

 We deliver to lockers!
Pick up your orders anytime, hassle-free!
 Fast Delivery!
Orders placed by 2:00 PM are shipped the same day. Delivered within 24h!
 2-Year Warranty
Reliable products, worry-free!
 Easy 14-Day Returns
Unused items? No questions asked!
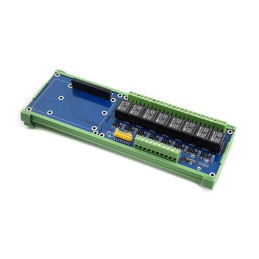
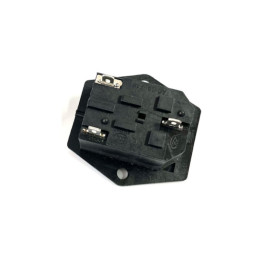
Maximum load: AC 250V/10A, DC 30V/10A
Trigger current: 5mA
Control voltage: 5V DC
Dimensions: 50 x 26 x 18.5mm
4 mounting holes on the PCB with a diameter of 3.1mm
To create this connection example, you will need the following:
1x DC 5V power supply capable of providing a minimum current of 1A
1x 2-channel relay module controlled by 5V
1x UNO development board || Reference TXVMOK_DB-UNO-R3 *for the version with the development board
Various wires needed to make electrical connections (optional buttons)
Connection example without development board:
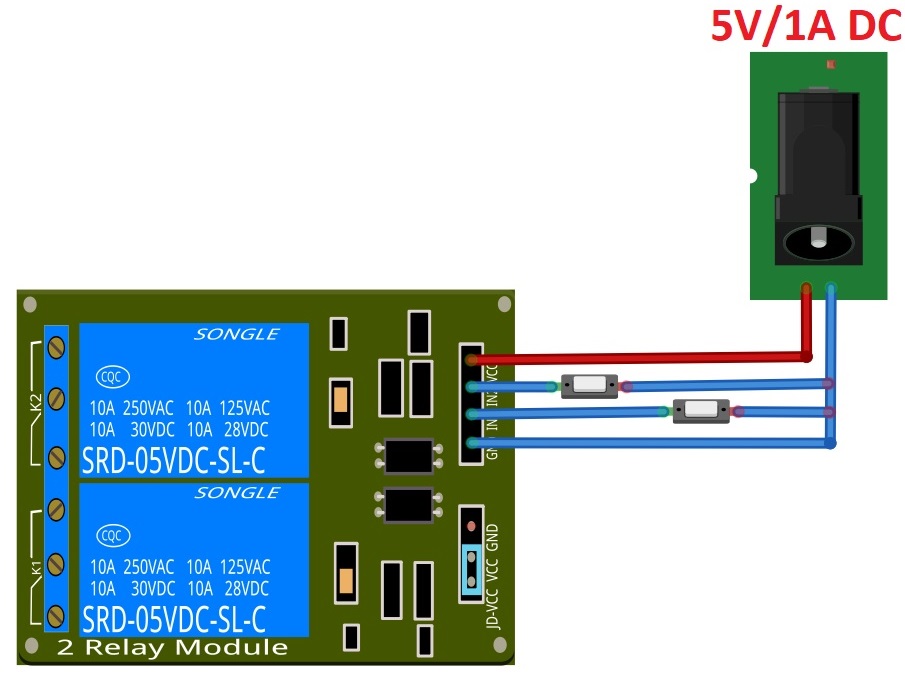
By pressing the buttons connected to GND (or directly contacting the wires) in the above schematic, you will be able to control the 2 relays.
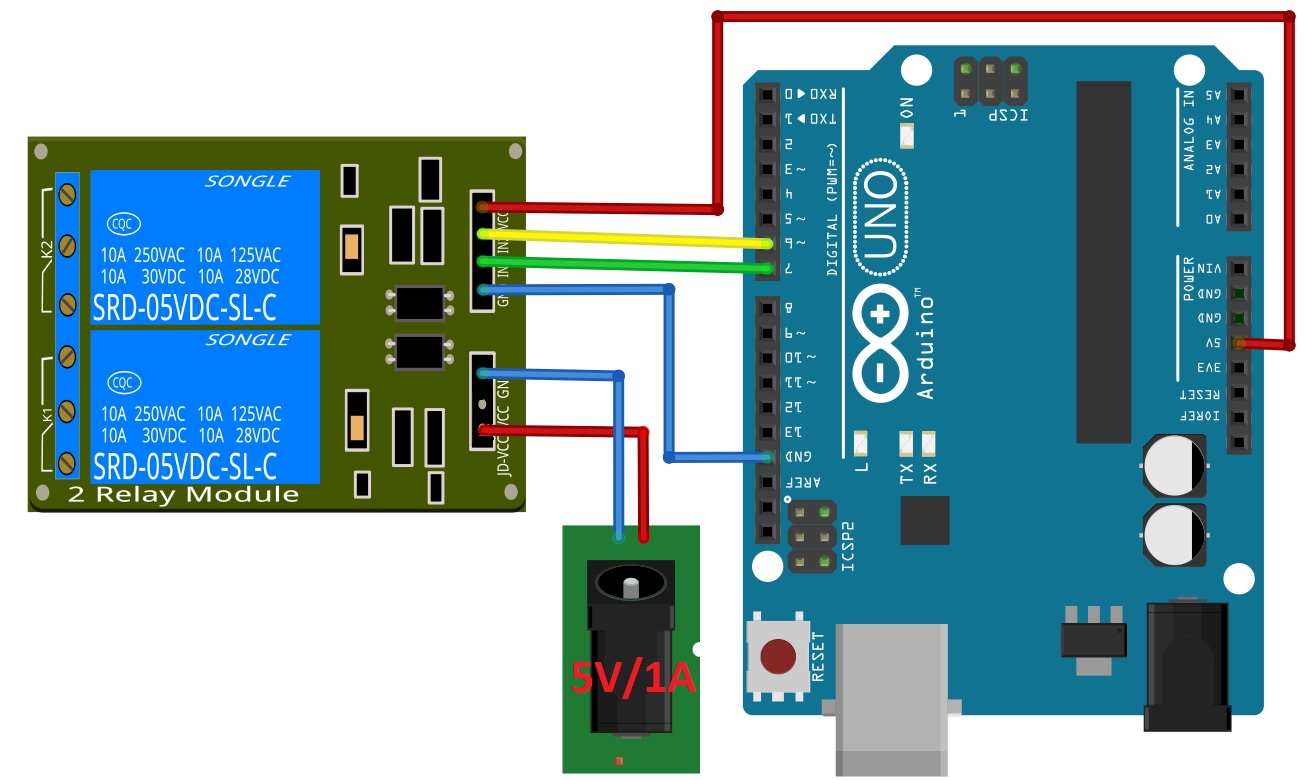
Connection example with development board:
If you want to control the relays from a microcontroller or development board, you will need to remove the jumper between RY-VCC and VCC and power the relays separately through the VCC and GND pins, as shown in the following image:
Code example:
const int Relay1 = 7;In the example with the Uno development board, the state of the relays will alternate every 1 second.
1x 2-channel relay module controlled by 5V
Your review appreciation cannot be sent
Report comment
Report sent
Your report cannot be sent
Write your review
Review sent
Your review cannot be sent
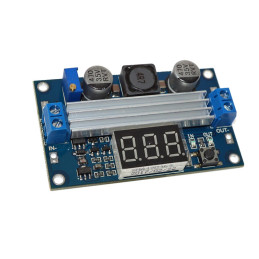
Reference: MTXOYA_LTC1871-display
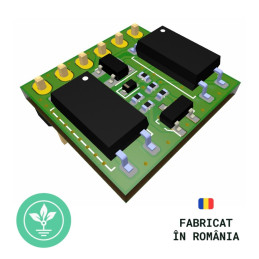
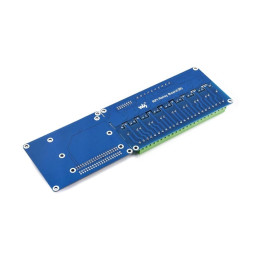
Reference: ETZPMN_RPI_RELAY8
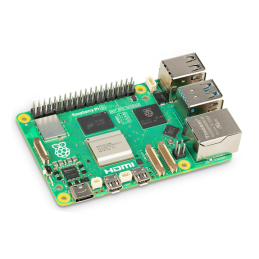
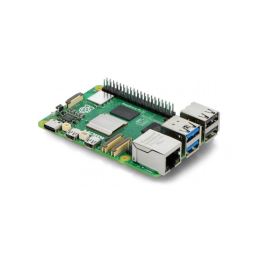
Brand: Raspberry Pi
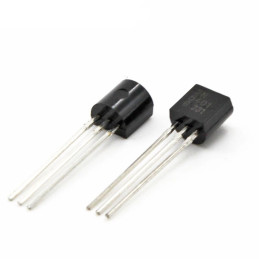
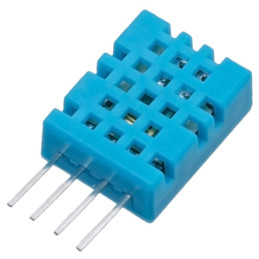
Reference: ZHTTVK_DHT11
check_circle
check_circle