
No products
Prices are tax included
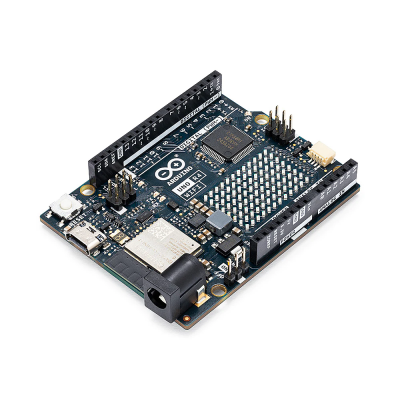
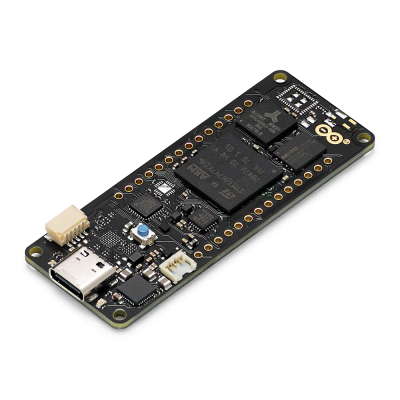
UNO R4 WiFi Development board compatible with Arduino
 View larger
XQHVZZ_UNO_R4_WIFI
New product
5 Items
Warning: Last items in stock!
Specifications
| Board | Name | UNO R4 WiFi |
| SKU | ABX00087 | |
| Microcontroller | Renesas RA4M1 (Arm® Cortex®-M4) | |
| USB | USB-C® | Programming Port |
| Pins | Digital I/O Pins | 14 |
| Pins | Analog input pins | 6 |
| DAC | 1 | |
| PWM Pins | 6 | |
| Communication | UART | Yes, 1x |
| I2C | Yes, 1x | |
| SPI | Yes, 1x | |
| CAN | Yes, 1 CAN Bus | |
| Power | Circuit operating voltage | 5 V (ESP32-S3 is 3.3 V) |
| Input voltage (VIN) | 6-24 V | |
| DC Current per I/O Pin | 8 mA | |
| Clock speed | Main core | 48 MHz |
| ESP32-S3 | Up to 240 MHz | |
| Memory | RA4M1 | 256 kB Flash, 32 kB RAM |
| ESP32-S3 | 384 kB ROM, 512 kB SRAM | |
| Dimensions | Width | 68.85 mm |
| Length | 53.34 mm | |
To program the board, the "Arduino UNO R4 Boards" package needs to be installed.

Rewriting UNO R4 WiFi firmware:
The development board has two different microcontrollers, a Renesas RA4M1 and an ESP32-S3.
By default, the ESP32-S3 module acts as a serial bridge, managing the connection with your computer. It also handles restarting the main MCU, Renesas RA4M1, when necessary, for example, when receiving a new sketch and resetting.
The UNO R4 WiFi also exposes the ESP32's data lines, so you can program the ESP32 directly. These data lines are exposed through a 3x2 header at the top of the board.
WARNING:
Please note that the ESP32 comes with default firmware installed, which is set to communicate with the RA4M1 chip. Any direct programming of the ESP32 will overwrite that firmware, and communication between the chips may be disrupted until the default firmware is restored.
Required Hardware and Software:
- Windows OS
- UNO R4 WiFi
- esptool
Step 1: Put ESP32 into Programming Mode
Ensure the development board is not powered or connected to the PC.
To upload firmware to the ESP32-S3, we need to put the chip into download mode by connecting the download pin to GND.
The download pin can be found on the 3x2 header at the top of the board (next to the USB socket).

The easiest way is to use a female-to-female cable and connect the indicated pins as shown in the image above. At this point, the board should be powered off. Once the pins are connected, you can connect the board to the PC and remove the jumper cable.
Check in Device Manager under Universal Serial Bus devices, it should appear as USB JTAG/serial debug unit.
Step 2: Upload Firmware
Download and extract the .ZIP file available in the DOWNLOADS section:
unor4wifi-update-windows.zip
Open your system's terminal application inside the extracted folder.
Hold down the ⇧Shift key and right-click in an empty space inside the extracted folder. From the context menu, select Open command window here / Open PowerShell window here.
Run the command: esptool write_flash -b 115200 0x0 firmwareUNOR4-WIFI-S3-0.4.1.bin
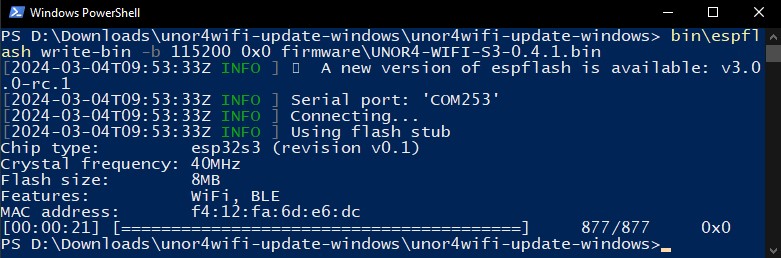
After running the command, disconnect and reconnect the development board to the PC.
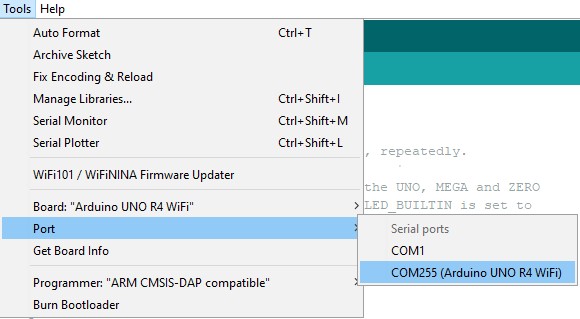
In Device Manager, a new COM port will appear, which you can use for programming the UNO R4 WiFi board.
Package Contents:
1x UNO R4 WiFi development board
No customer reviews for the moment.
30 other products in the same category:
-
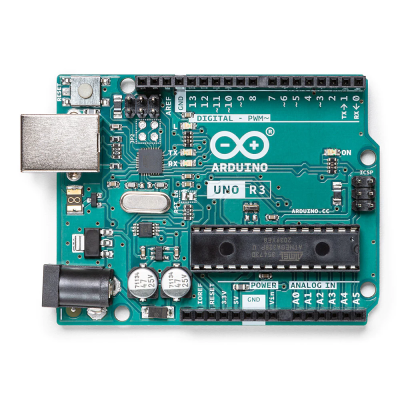
Arduino® Uno Rev3
178,38 lei 199,80 lei
-
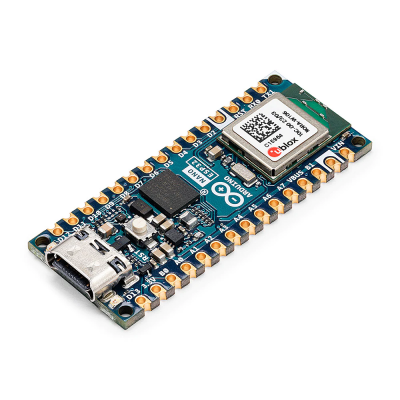
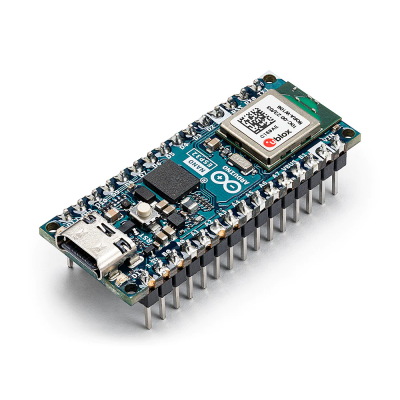
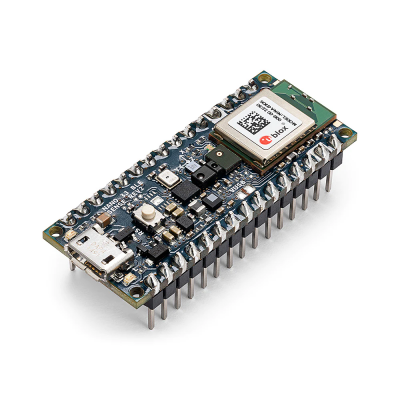
Arduino® Nano ESP32
127,98 lei 154,76 lei
-
Arduino® UNO R4 WiFi
160,65 lei 182,07 lei
-
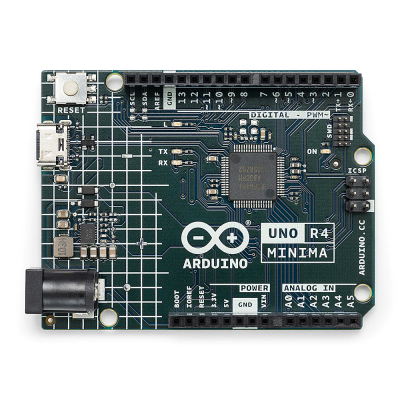
Arduino® UNO R4 Minima
115,72 lei 142,50 lei
-
Arduino® Nano ESP32...
122,95 lei 149,73 lei
-
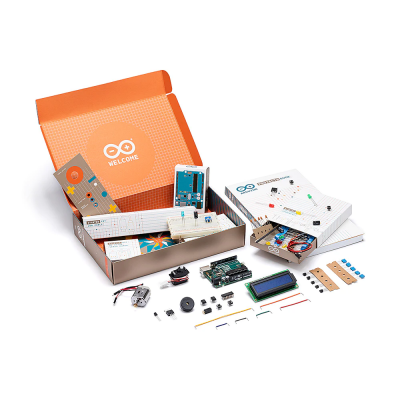
Arduino Starter Kit -...
556,92 lei 615,83 lei
-
Arduino Student Kit
390,92 lei 428,40 lei
-
Arduino® Make Your UNO...
323,37 lei 355,50 lei
-
Arduino® Nano Every...
87,71 lei 103,78 lei
-

Arduino® Nano RP2040...
151,97 lei 173,39 lei
-
Arduino® Nano 33 IoT...
140,35 lei 161,77 lei
-
Arduino® Nano 33 BLE...
357,12 lei 399,96 lei
-
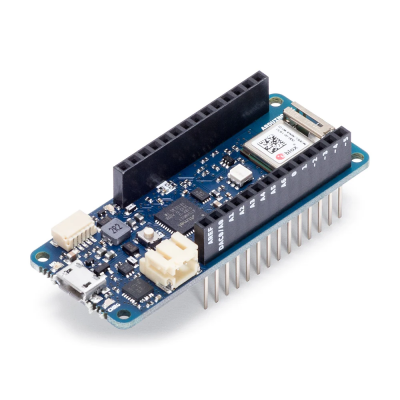
Arduino® MKR WiFi 1010
263,56 lei 284,98 lei
-
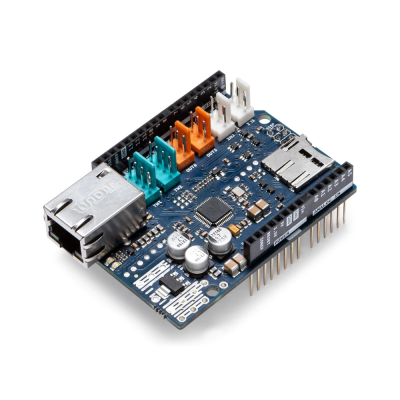
Arduino® Ethernet...
162,52 lei
-
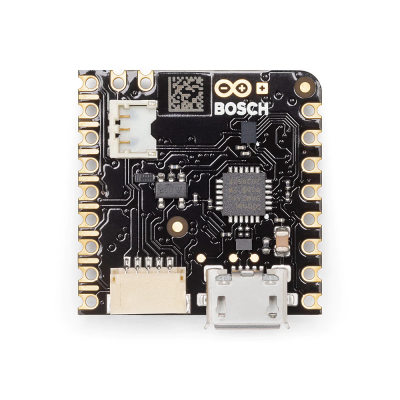
Arduino® Nicla Sense ME
489,98 lei 538,18 lei
-
Arduino® Portenta H7 Lite
369,01 lei 422,56 lei
-
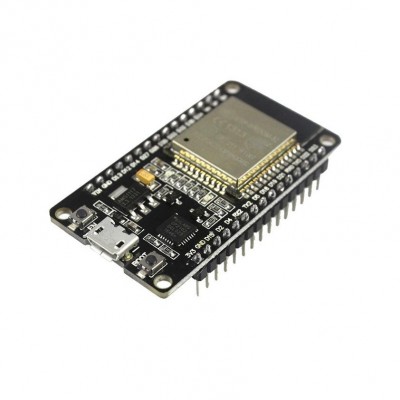
ESP32 development board
104,42 lei
-
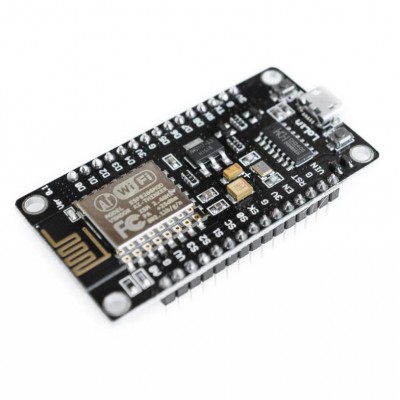
Node MCU V3 - LoLin...
31,92 lei 42,63 lei
-
Development board...
45,52 lei 68,28 lei
-
NodeMCU Mini - ESP8266...
33,57 lei 50,34 lei
-
ATTINY85 USB...
44,66 lei 66,99 lei
-
DUE R3 Development...
122,09 lei
-
Development Board...
22,17 lei
-
FPGA Development Board
119,15 lei
-
PIC16F1823...
30,52 lei
-
Development board...
25,70 lei
-

Raspberry PI Pico
45,00 lei
-
Raspberry Pi 4 Model B...
374,85 lei
-
GroundStudio JADE N1
24,42 lei
-

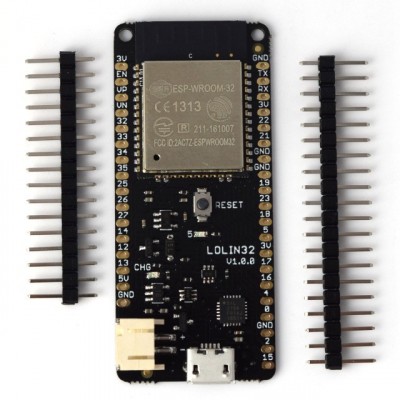
ESP32-WROOM-32D
47,74 lei 71,60 lei

