lei15.74
In stock


 We deliver to lockers!
Pick up your orders anytime, hassle-free!
 Fast Delivery!
Orders placed by 2:00 PM are shipped the same day. Delivered within 24h!
 2-Year Warranty
Reliable products, worry-free!
 Easy 14-Day Returns
Unused items? No questions asked!
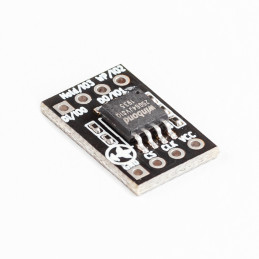
The 0.91-inch OLED I2C display, with a resolution of 128x32 pixels, is a compact module designed for use with Arduino, Raspberry Pi, and other microcontrollers.
It is controlled via the I2C interface, requiring only 4 connection pins.
To complete this example, you will need the following:
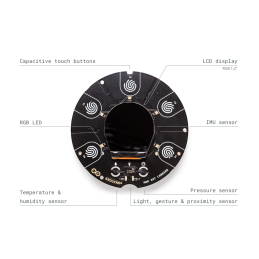
1x GroundStudio Jade N1 development board || Reference LTAYNO_AAA
1x OLED Display 128x32 - I2C || Reference OLED-12832
Before connecting the board, start by downloading Arduino IDE 1.8.x from the link above, according to your preferences and the operating system used.
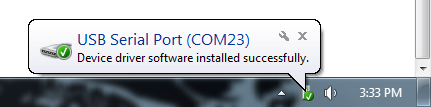
After the initial connection via a USB-C cable, the computer will try to find a compatible driver. In this case, it will connect directly to Windows using the HT42B534-2 chip as the drivers for this chip will install automatically.
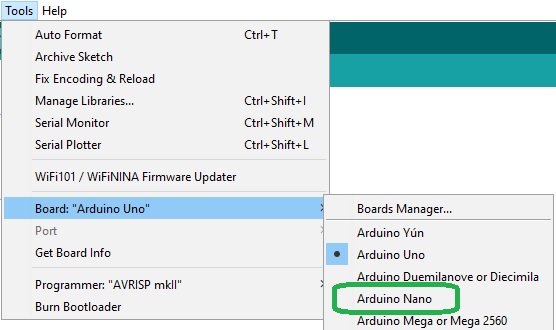
To select the board, go to the "Tools" menu, then click on the board button, making sure that "Arduino Nano" is selected.
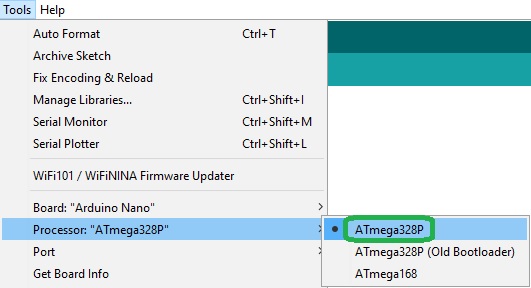
After selecting the board, a new section "Processor" will appear in the Tools menu. Here, you will need to select the "ATmega328P" option.
Next, we need to tell the Arduino IDE to which of our computer's serial ports the Jade N1 is connected. To do this, go again to "Tools," then select the COM port of Jade N1.
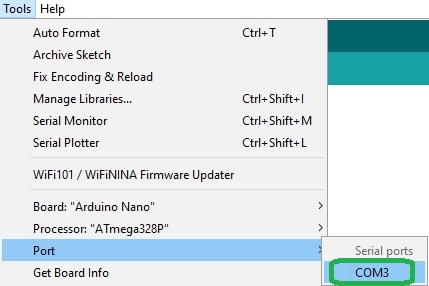
If you have multiple ports and are unsure which port is Jade N1, disconnect it briefly and check the "Ports" menu in "Device Manager" to see which one disappears.
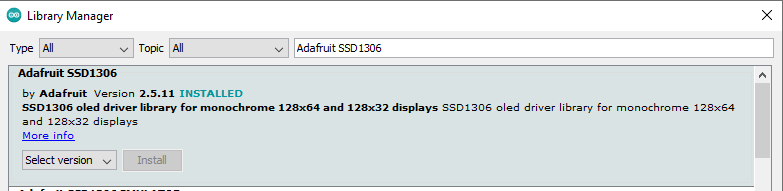
After selecting the Port and Board, you need to install the required library for the display.
Select Tools -> Manage Libraries... and in the window that appears, search for and install "Adafruit SSD1306".
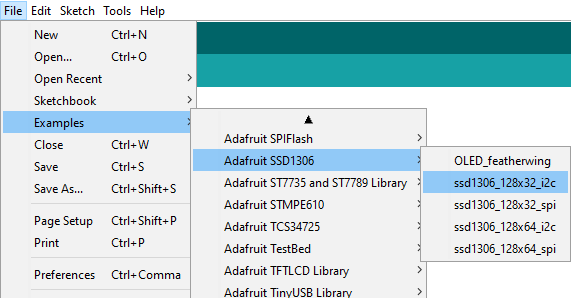
You can now upload the test code from the menu File -> Examples -> Adafruit SSD1306 -> ssd1306_128x32_i2c.
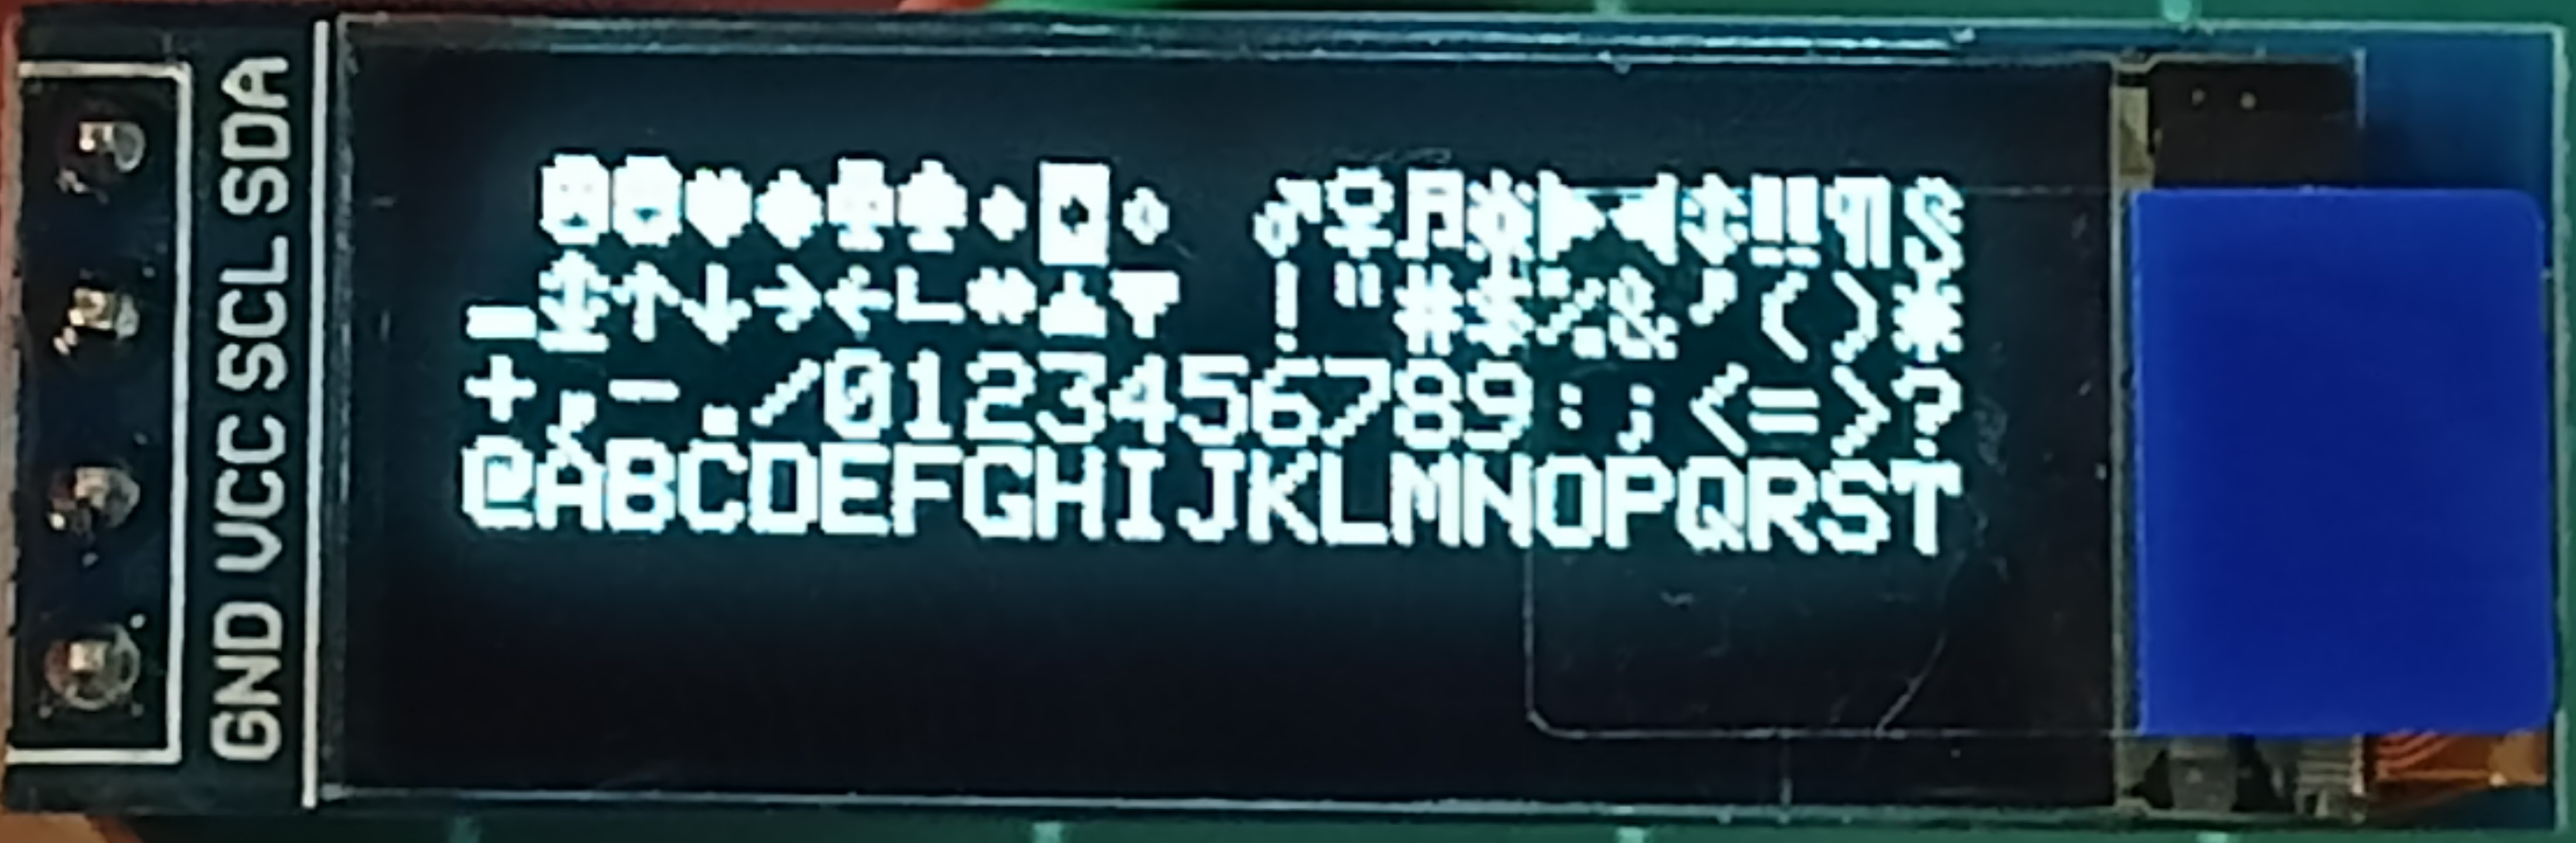
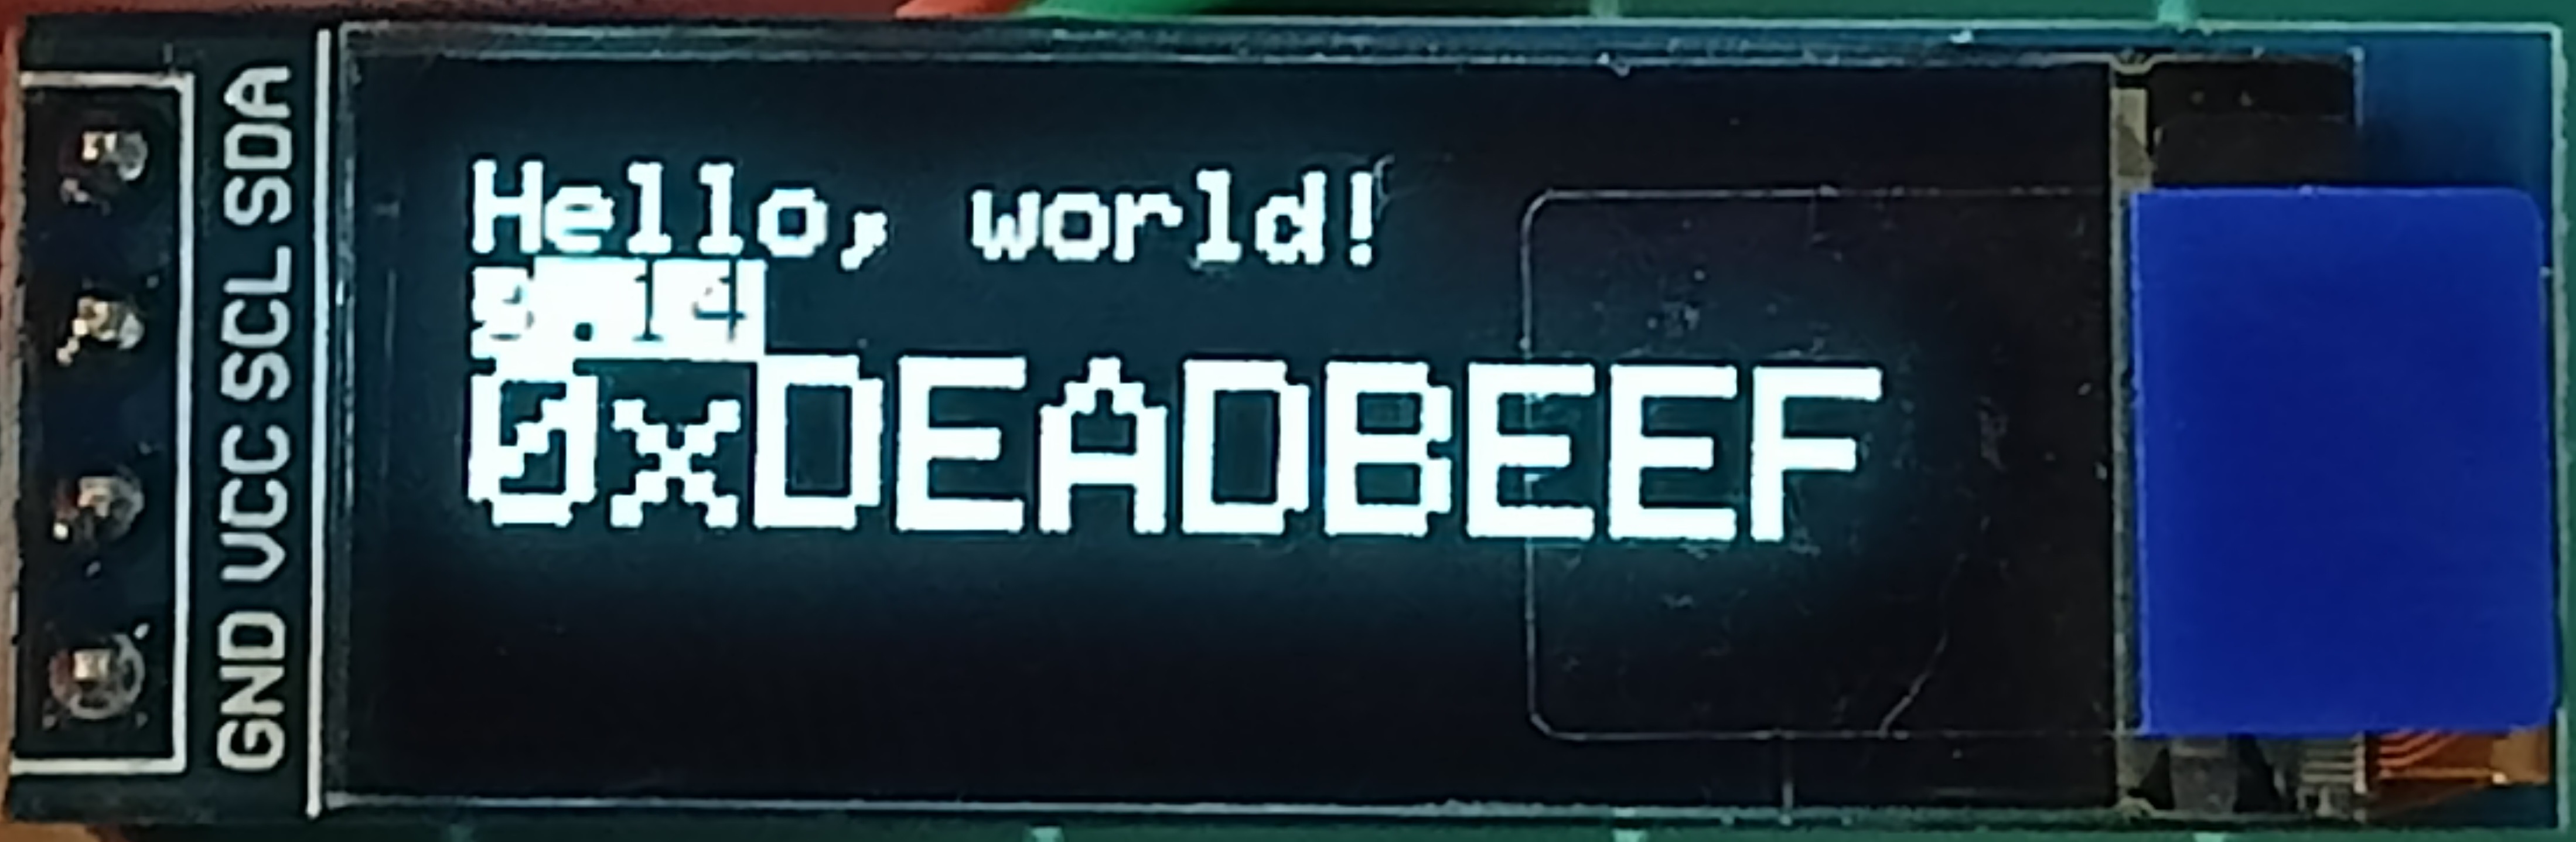
After loading the code, a series of images will be displayed on the screen as shown in the photos below:
1x pcs. OLED display 128x32 - I2C
Your review appreciation cannot be sent
Report comment
Report sent
Your report cannot be sent
Write your review
Review sent
Your review cannot be sent
Reference: 2Y0A02
check_circle
check_circle