

lei0.36
Product available with different options


 We deliver to lockers!
Pick up your orders anytime, hassle-free!
 Fast Delivery!
Orders placed by 2:00 PM are shipped the same day. Delivered within 24h!
 2-Year Warranty
Reliable products, worry-free!
 Easy 14-Day Returns
Unused items? No questions asked!
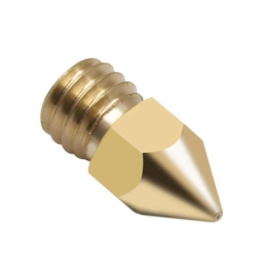
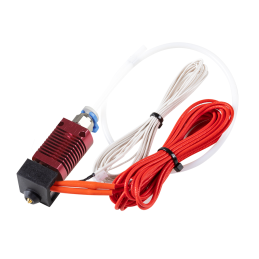
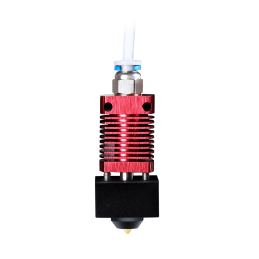
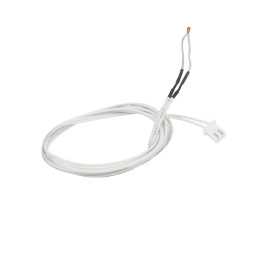
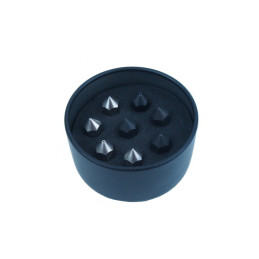
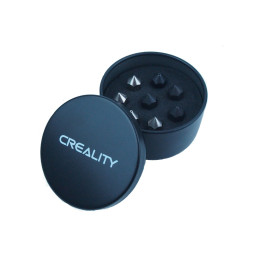
Cap de printare pentru imprimanta Creality CR-10 V2
Produs original Creality
1x Cap de printare pentru imprimanta Creality CR-10 V2
Your review appreciation cannot be sent
Report comment
Report sent
Your report cannot be sent
Write your review
Review sent
Your review cannot be sent
check_circle
check_circle